Table of Contents
There are several economic decisions that must be taken by every business management on a day-to-day basis using accounting information recorded in financial statements. Thus, accounting plays a crucial role not only in operating a business but also in meeting statutory compliance and developing future financial projections.
Quickbooks is one of the most popular and widely used accounting software mostly used by freelancers, small business owners, bookkeepers, accountants, finance officers, and solopreneurs. It allows users to create new company files. The new QuickBooks account can be created whether your business has years’ worth of transactions, customers, and suppliers, or you’re just getting started, QuickBooks can easily integrate your company’s data.
Given below are some of the advantages of setting up a new company in Quickbooks:
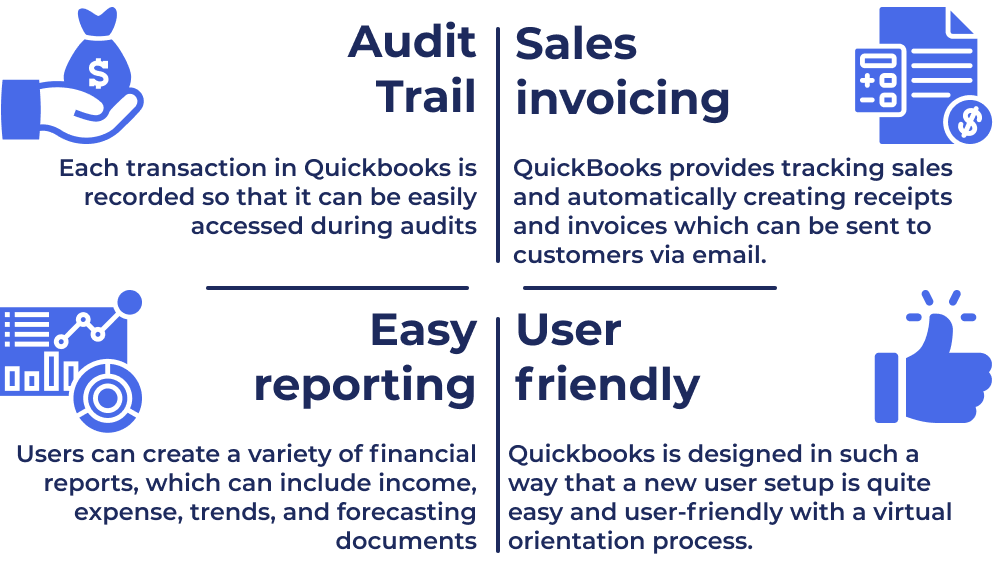
- Money management- QuickBooks comes with features designed in such a way that it helps small businesses in managing their money. It allows users to enter the due dates and payment information for all recurring bills. For the bills which are due, users may print checks directly from QuickBooks. Each transaction in Quickbooks is recorded so that it can be easily accessed during audits. It also lets users link their bank accounts to Quickbooks so that all the financial records can be viewed on a single screen, this feature also gives them the benefit of eliminating the need for paper bank statements.
- Sales invoicing- QuickBooks provides tracking sales and automatically creating receipts and invoices at a touch. Then the invoices can be electronically sent to customers via email. This saves a lot of time and effort. This also allows users to send separate bills to customers or in large batches. The function comes in handy when billing multiple clients for the same service.
- Reporting- QuickBooks users are able to create a variety of financial reports at a touch. These include year-over-year income, expense, trends, and forecasting documents. Furthermore, each report can be exported into Microsoft Excel spreadsheet format and sent electronically via email.
- User-friendly- Quickbooks is designed in such a way that a new user setup is quite easy and user-friendly with a virtual orientation process. In addition, most of the program’s features can be activated at the click of a button.
You can read more on "Why do small to medium business owners need the services of QuickBooks Certified Proadvisors?"
Steps for setting up a new company in Quickbooks:
- Using your web browser, navigate to ca.qbo.intuit.com.
- Enter your Email or user ID and Password.
- Click Sign In.
QuickBooks requires some additional information to complete the basic company setup. QuickBooks asks you to name your company.
- Answer the question: What's your business called?
- Tell QuickBooks How long have you been in business?
The checkbox labeled I’ve been using QuickBooks Desktop and want to bring in my data refers to converting data from the QuickBooks Desktop version to QuickBooks Online.
QuickBooks asks you to choose the areas of QuickBooks you’ll use in your company.
- Make the selections that apply to your company.
- Click All Set to complete the initial company setup.
QuickBooks displays the QuickBooks Home Page or Dashboard.
Basic Company Setup Company Steps
After completing the initial setup of your QuickBooks company, there are several important tasks to complete the setup. It’s a good idea to enable and customize features and settings that apply to your company. The following settings are important to ensure that you’re QuickBooks data file is secure.
Company Settings- Company settings let you configure QuickBooks to work the way you want.
- It’s recommended to edit the settings as you work in different areas of QuickBooks.
To access the Company Settings:
- Click the Gear Icon.
- Click Account & Settings.
Use the categories on the left to navigate the various settings. There are several settings that should be updated or enabled immediately after you set up your company.
- Click Company to update information like the Company Name, Company type, Contact info, and Address.
Company Name: The business name you enter will be displayed on your Dashboard at the top left, and in the Company Menu button at the top right at all times. Quickbooks uses your business name extensively in correspondence with your customers, including it in the subject line of emailed invoices, on statements, at the top of reports, and much more. Your business name is also the default filing name of your business for payroll taxes forms if you use payroll through QuickBooks, but your filing name can be set up to be different during the payroll setup process.
- Click the Company Name section to expand and edit the information.
- Click the + to add a logo.
- Edit the Company name if necessary. Click Legal Name to add a legal name if different than the Company Name.
- Click Save.
- Logos must be jpg, gif, BMP, or png format and must not be larger than 1MB in size. Logos appear on sales forms when they are sent to customers. If you don’t have a logo during the company setup process you can easily add it later when customizing your sales form.
Company Type
Click Company Type to update the company type. You can choose from a variety of company structures.
Contact Info & Address
- Click Contact Info to update the Company email, Customer-facing email, Company phone, and Website.
- Click Save.
- Click Address to edit the Company Address, Customer-facing address, and Legal Address.
Banking rules update in Quickbooks
A new Auto-add Bank Rules feature in Quickbooks has made our lives easier and saves time as well. We can now create rules that automatically accept bank feed transactions into QuickBooks.
You can find the new Auto-add Rule set-up from ‘Transactions’ on your left-hand side navigation bar.
- Go to ‘Banking’,.
- Then in the top right-hand corner from the drop-down box in the ‘Update’ field, click on ‘Manage Rules’.
- Click on ‘New Rule’, then set up a new rule, and choose ‘Automatically add to my books’.
How the Auto-add Rule Works
- Once the rule is set up, any affected transactions in the ‘For Review’ are automatically added to QuickBooks.
- Auto-add Rules will run when:
- You sign in to your file.
- You run a manual update.
- A .csv file is uploaded.
- You create/change an Auto-add Rule.
Added Icon
- The ‘Auto-add’ rule appears on the ‘Rules’ page under a new column called Auto-add. The icon will appear next to the rules that have the Auto-add feature turned on.
- You will find the auto-added transactions under ‘Transactions’, then ‘Banking’ in QuickBooks. Then locate the auto-added transactions. It can also be undone if necessary.
- If required, you can filter only the auto-added transactions. Go to ‘Transaction’, then ‘Banking’. Next to the funnel icon, there’s a drop-down menu. Click on the ‘Rule’ drop-down menu, choose ‘Auto-add Rule’, then choose your dates ‘From’ and ‘To’.
- Set up your rules and choose your conditions to suit your transactions
Adding a new chart of Accounts in Quickbooks
- Click the Gear icon and select Chart of Accounts.
- Select New in the top right corner.
- Click on the Account Type drop-down to select the account type.
- Select the Detail Type to specify the type of account that you want to add.
- Enter the name of the account in the Name field.
- You have the option of including information in the Description field and an amount in the Balance field.
- Click Save and Close.
NSKT Global is a top accounting firm that provides assistance to small and medium enterprises in establishing themselves. We have certified Quickbooks Proadvisors who help in setting up a new company account using Quickbooks. We help companies in creating new company files as it may become a tedious job at certain times. Our solutions are cost-effective as well as tailored in such a way that we make our clients understand the importance of using Quickbooks for their business as it is one of the most effective accounting tools for all kinds of businesses.


